


My most recent shoot started off as a quick idea I threw into midjourney to see what kind of inspiration it’d feedback to me. This was the prompt I used: studio portrait with candyfloss colour palette and upstage lighting. From that, I half expected a very pink-orientated studio portrait. But I got a pink analogous colour palette and plenty of floating candyfloss in the shots. This was something I really wanted to attempt!
I searched Ebay, ordered a little stool to pose on, 2KG of teddy bear/cushion stuffing, some paper lanterns, a set of 4 (but I mainly just wanted the purple) Colorama paper background offcuts, and a pink tutu. I also kept the box the stool came in to use as a little cloud wall.
My idea was to dye the stuffing pink, cover a few lanterns in the stuffing, create a sizeable cloud shape in cardboard and cover that too. That would have been my candyfloss sorted. But the studio we wanted to use wasn’t available and the other few around us wouldn’t have been easy to work. We had to quickly make a plan B.
Plan B binned off the candyfloss idea and switch it out for clouds. Then instead of a studio, we would use a woodland instead.
It was now time to DIY the clouds. I hunted for my glue gun to create the clouds and only found adhesive spray. It would do. Probably. Turns out it was so much faster than using a glue gun! Potentially messier, but I managed to cover 4 lanterns and a cloud of around 1.5m x 1m in just over an hour! And i only used around half of a 500ml can!
There really isn’t too much to go into with this other than make sure you’re in a ventilated area, wear a mask and gloves and protected the environment around you. The first layer of glue was absorbed super fast by the initial fluff touch, so I had to use extra glue on top to attach more fluff to build up a textured cloud and to fill spaces. The spray adhesive really shone here and made everything so easy! I will admit that I definitely inhaled a fair amount of glue and my head was pounding. Don’t make that mistake!!!
I left the clouds to dry outside for a few hours then stuffed them in the car with all the other gear ready for the next day.
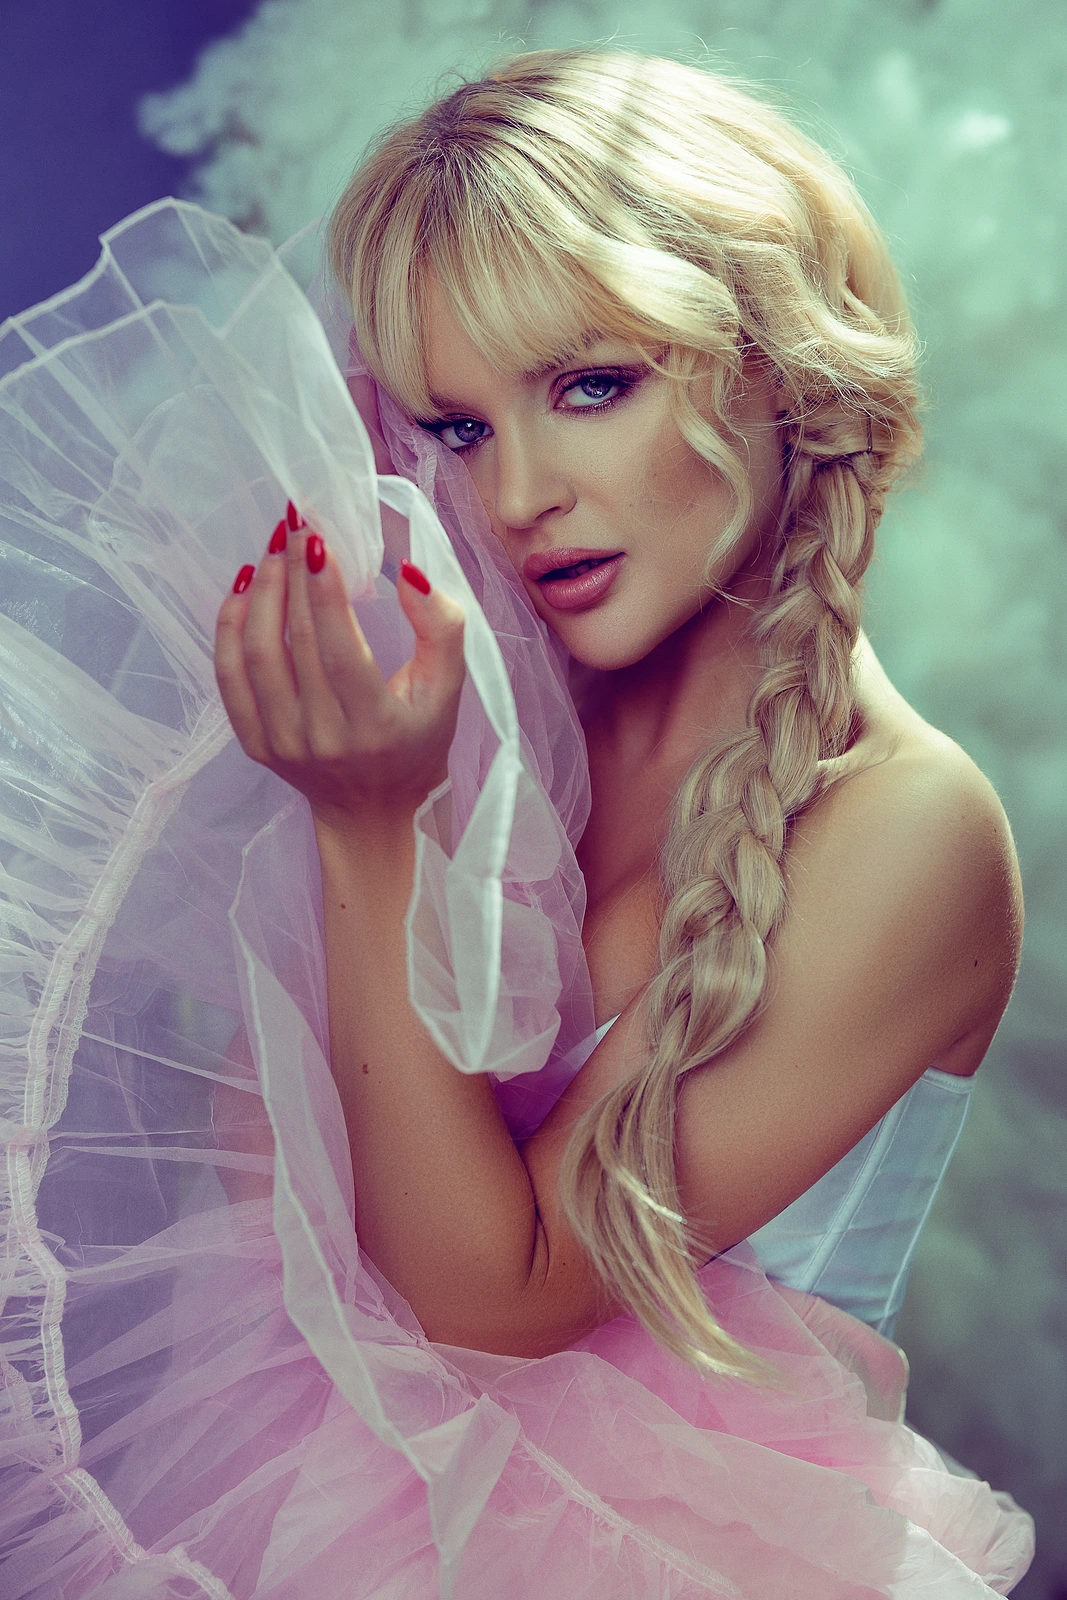
The model I chose for this shoot was Kateymodel (on insta). We work together often and she is incredible and just super easy to create magic with. We hadn’t set an official time until the day before as we had been having storms the whole week with more forecast. We checked the weather apps constantly and joked about how we would so be getting caught in it!
Arriving on location, I did a little run (actual run too) to locate the best place to part so I wasn’t dragging gear too far. Luckily I found a spot about 50 metres away that was super accessible.
I dragged out our clouds, the stool, Colorama, 3 C stands, 3 sandbags, boom arm, grip arms, softboxes, camera bag and lighting and trekked it all to our spot. It’s safe to say I was a little warm after it.
I set up a grip arm with the Colorama on and clipped and bagged the bottom to keep it tight. I placed this pretty much against the wind as the sun was around 30 degrees behind where Katey would be and high in the sky and act like a hard-rim light. Without the sandbag on the Colorama, it would have been loose and blown absolutely everywhere.
Next, I set up the cloud wall by punching a couple of holes on the back edge, threading a fishing line through it and tied it to the second grip arm. The paper lantern clouds were placed in front of the stool where Katey would be placed.
I popped open a 150cm octa, attached my Godox AD300 to it, placed that on a boom arm and then a C stand. I was super conscious about the wind catching this and potentially blowing it over.
That’s the basic setup. We shot some frames and they looked incredible. The sun and clouds were forever changing, so we decided to incorporate them into the shots. Some shots looked obviously flashed, some dappled lighting, some overexposed and almost glowing, all with the same camera settings! (Asides from the odd few frames of adjusted shutter speed).
Throughout this, it kept threatening to rain hard! We kept getting plenty of micro rain showers but not enough to stop.
After a quick review, I added a second light, a Godox AD200 in a standard reflector dish directly in front of the 150cm octa to add a hard light punch coming from the soft light source. This hard light added such a beautiful kiss of contrast and really made the highlights in Katey’s makeup pop!
We shot some more, different angles and crops to give a wide variety to choose from and started to wrap up. It must have been a real-life minute after putting the final pieces into the car, the heavens really opened up and that storm that had been forecast and threatening all day finally arrived! Luckily, we just missed it.
The whole using AI as inspiration was pretty awesome and gave us a huge opportunity to put our own spin on things. Being open and easy to change too allowed us to flow with the things presented to us and created such an awesome set of images! Jump over to mine or Katey's instagram to see more:
https://www.instagram.com/thammondphotography/
https://www.instagram.com/kateymodel/
Our post link - https://www.instagram.com/p/Cu2dg9xMFz0/?img_index=1

 ) to see how your blog looks